Cricutted Wedding Present
 When my friend Cris announced he was getting married, the search was on for a suitable wedding gift. Cris had a big influence on my wife and I getting together and had set the bar high with his gift to us of collectors edition Star Wars pillow cases. Well, someone might be collecting them.
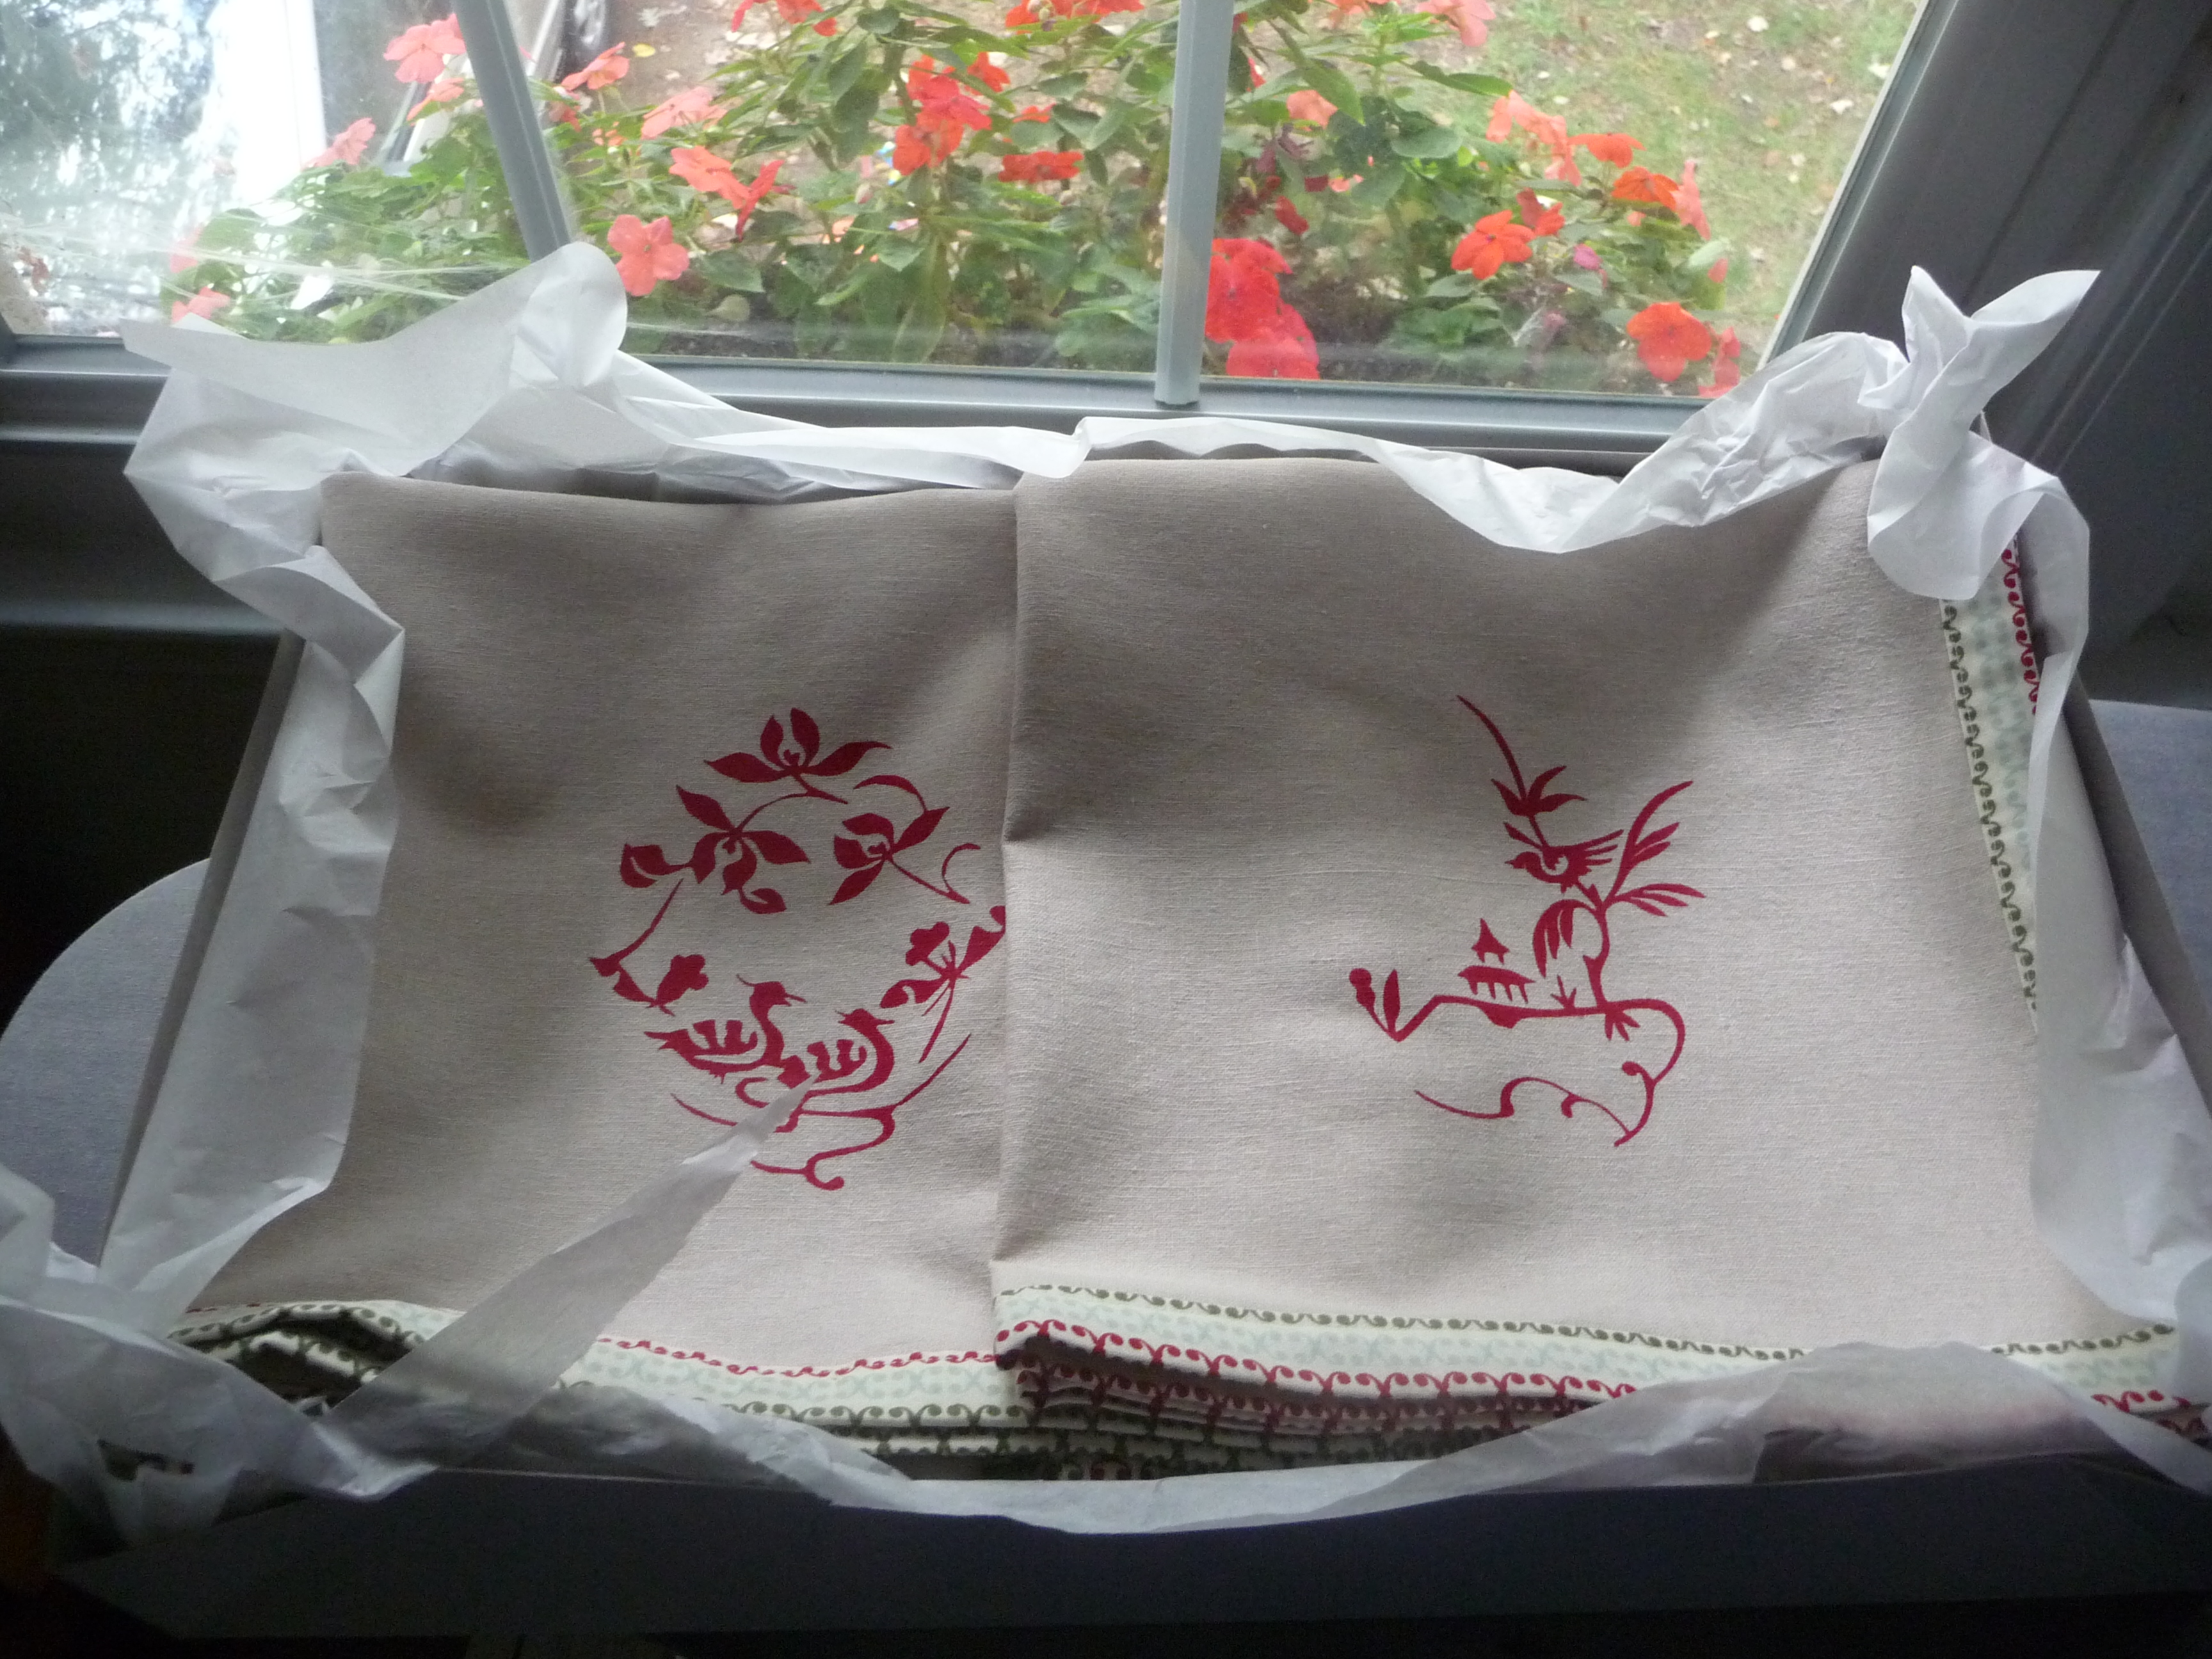
My wife wanted to make something by hand and I was all for that although we clearly have different visions when it comes to making. Let’s just say she was not supportive of most anything that involved a trip to the hardware store. Eventually, we arrived at a compromise. She would sew some linen napkins and I would use my trained cricut to cut stencils that we could print custom images on. Oh, and Dr. Who images were pre-emtively vetoed.
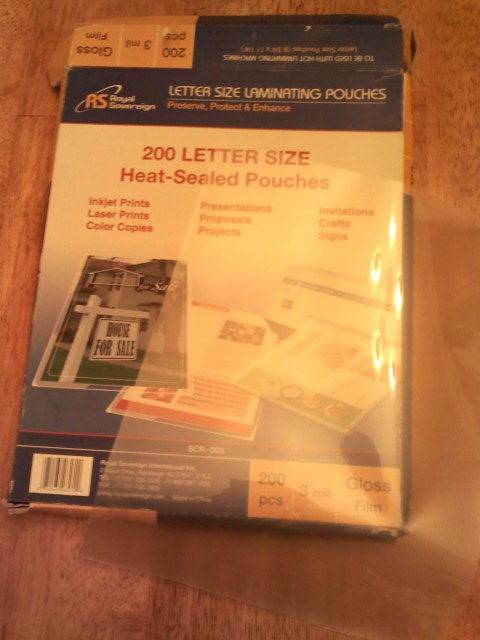
The real question was what material would be suitable for a stencil. They didn’t have to last forever but the plan was to do four stencils and use each one with four different colors for a set of 16 coordinating but unique napkins. Paper stencils which is the cricut’s advertized forte were out, but I wasn’t sure where to find plastic thin enough to but well, but thick enough to support some very thin connecting lines in the pattern.
Would you believe that 3 mil laminating sheets worked just about perfectly? We bought the mega pack of folder style laminating sheets figuring that we’d eventually go through them all. We still might, but in the mean time sacrificing a few to alternate uses is no worry. So after opening and cutting the sheets to cricut size (4” x 6”), we had our stencil material.
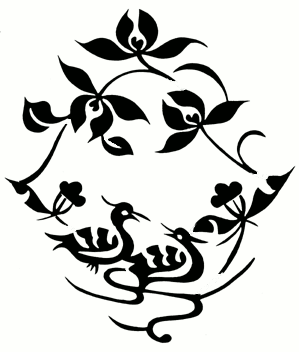
The next trick was to prepare the images. We had settled on some traditional Chinese papercut images out of a Dover Book collection, but unfortunately didn’t notice that this particular set came as gifs not in SVG format. Fortunately, Inkscape has a built in utility to convert them that with a few tricks works extremely well.
In version 0.48 there is a tool under the Path menu named “Trace Bitmap” which is derived from potrace written by Peter Selinger. Trick number 1 is to make sure that you have clicked (selected) your imported image before running the tool. The Brightness cutoff feature seemed to work well and since I was working with black and white images I turned the cutoff up to 0.8 which seemed to preserve most of the image.
After running the trace, nothing appears to have happened. However, if you go to the View menu and pick display mode Outline you’ll see that the original image is represented by a big square with an ‘x’ since it is not an outline and your newly created edge trace will be visible. You can delete the large box now since you don’t need that object in your image any more.
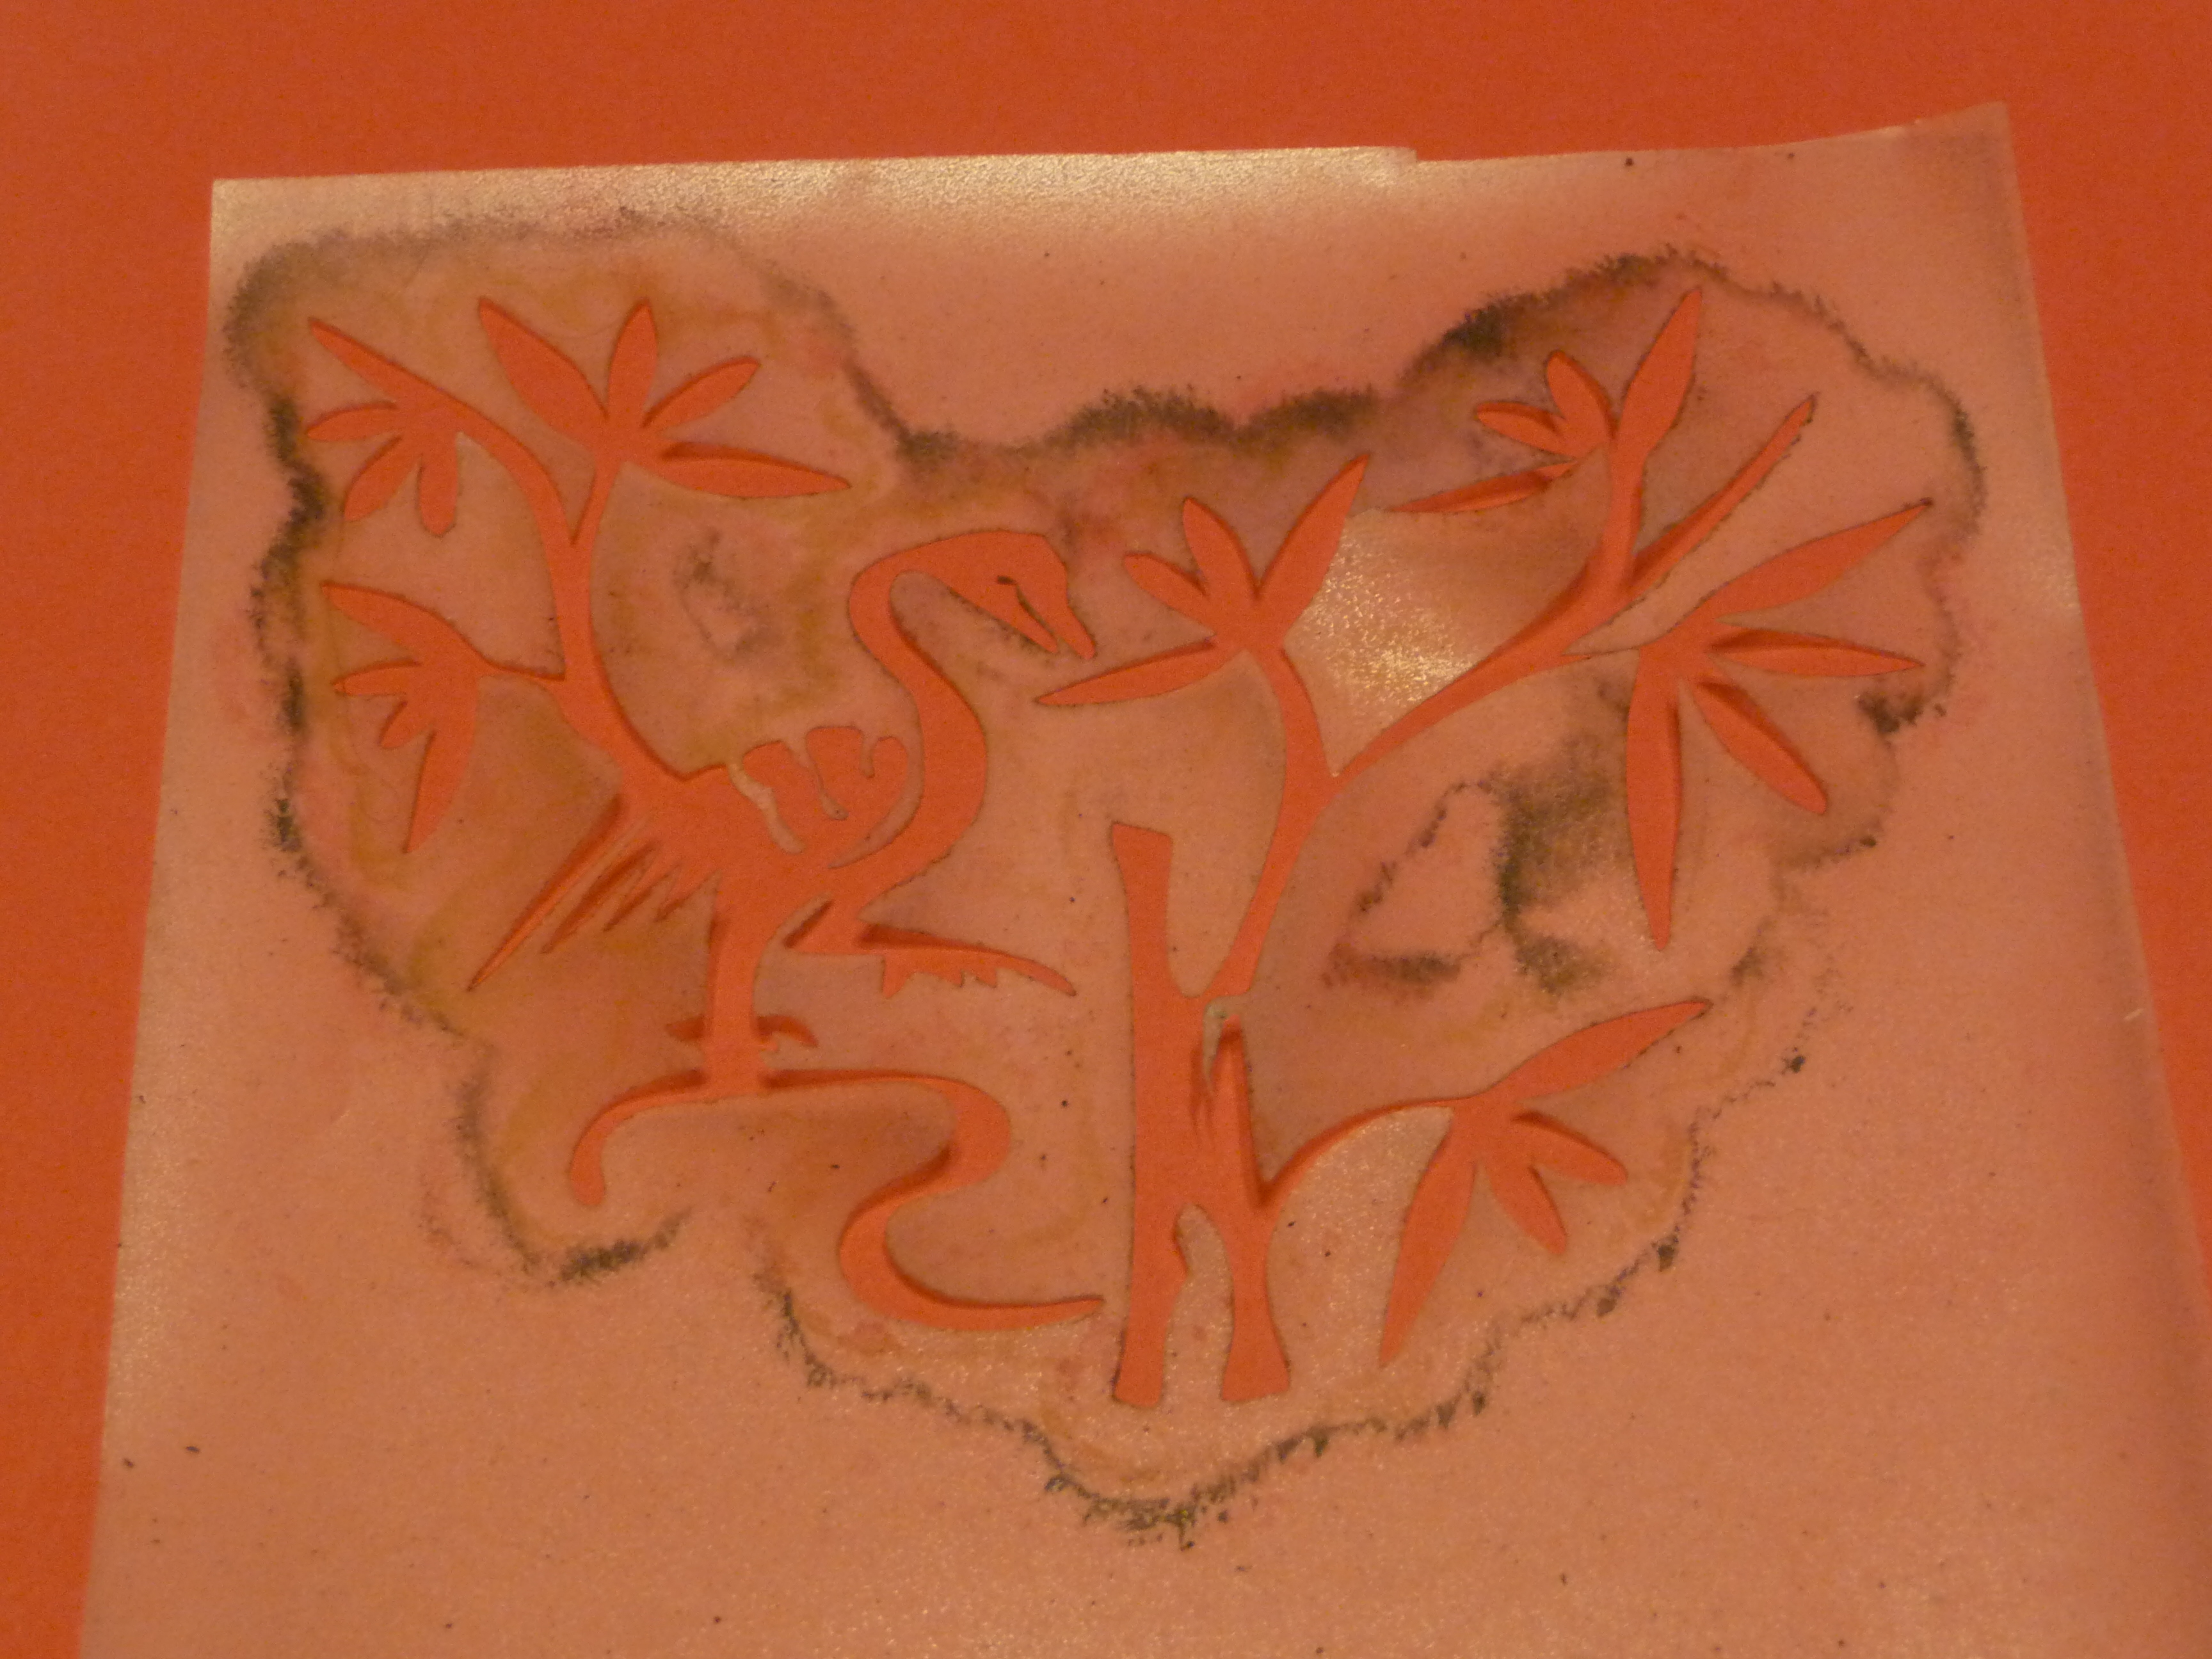
From here you can tweak your paths if you want to make adjustments. Remember that the Cricut is going to cut everywhere there is a line so if you have ‘islands’ in your image (like eyes in a picture of a face), when the Cricut cuts the main shape, the interior islands are going to have nothing to keep them in place. It is possible to place these by hand when using your stencil but in general it is better to either pick an image where those islands can be left out, or to build out small bridges to them that will hold them in place. The bridges will obviously be visible in the final print so these need to be added without destroying the asethetics of the image. Keep this in mind when picking your images in the first place.

So after converting the images to svg paths, and feeding those through the cutting software, we ended up with templates mostly ready for use. The final step was to spray some repositionable adhesive to one side to help keep them in place while printing.
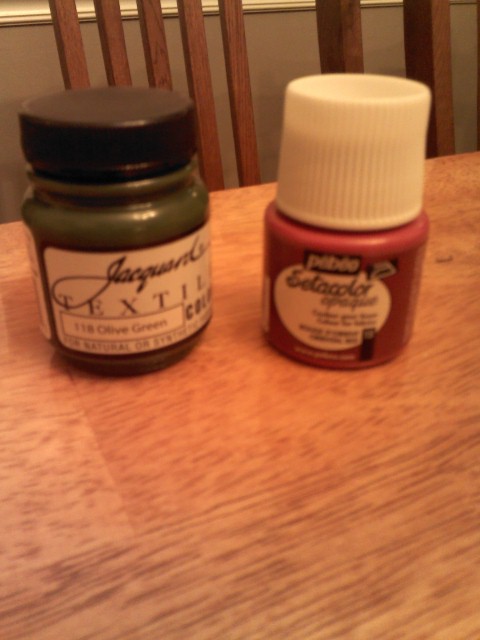
Unfortunately, I can’t go in to the same detail about the actual printing since my wife took over at this point. I can offer pictures of the screen printing inks she went with and tell you that rather than painting it on, dabbing it on with a round flat tipped brush made for dabbing worked best. She does say that the screen printing inks gave a richer color than fabric paints on her Flickr photostream.
All that was left at that point was to admire them for a minute and then wrap them up.