Solar Powered Address Box
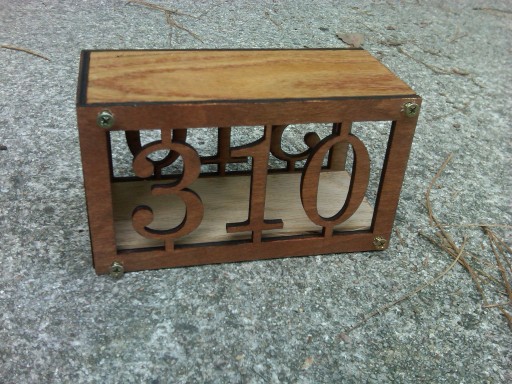
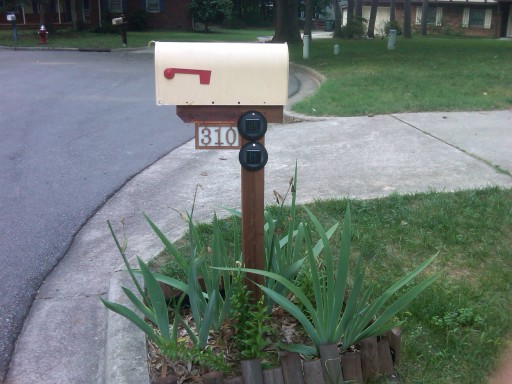
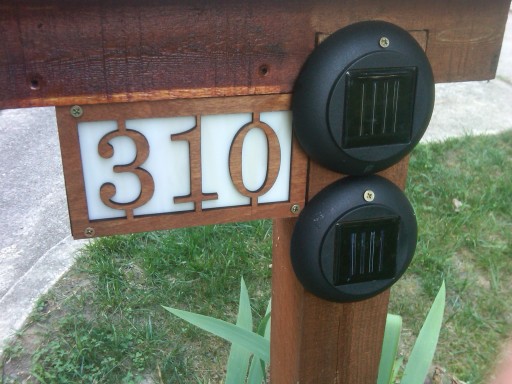 For quite a while now I’ve had the idea in my head to take a couple of solar garden lights and use them to illuminate an address sign. I’m not sure what sparked the idea since my old address sign wasn’t that hard to see, but since when did that matter. The catalyst for finally getting it done was a desire to make us of my membership to the TechShop and their laser cutter.
The laser cutter is just about the tool of my dreams. A CNC router is right in there since it does 3D, but the precision of the laser cutter just sets my creative mind racing. Do all the tweaking and precision work on a computer with an undo button, and then click print (literally) and have the laser cutter create an actual tangible object. Unfortunately, they are priced as a business investment (thousands of dollars) which means I only get access through a fairly steeply priced membership. That is of course until I decide I could resell things to recoup the investment and buy one of my own. Hey, I can dream.
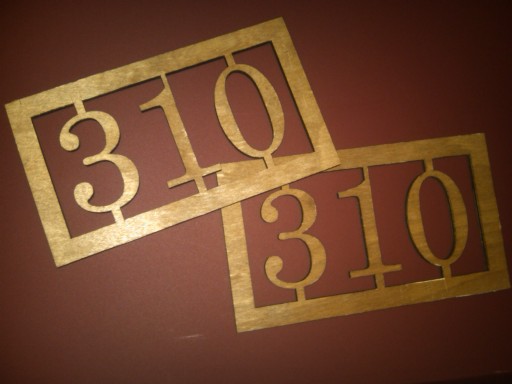
Anyway, there isn’t much magic here. Using Inkscape I drew a couple of boxes around the text. Merged the shapes and I was good to go. Pressing print and having those shapes cut in to a piece of wood, now that’s magic.
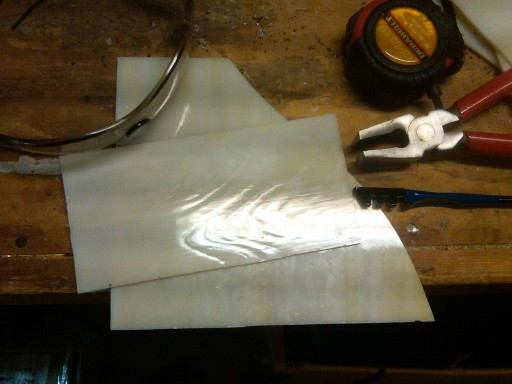
The other novel bit of craftiness that made this project complete was some glass cutting. A previous crafting whim has left me with a few sheets of stained glass and the basic tools although prior to this project, I had never gotten it right. Previous instructions had said to score the glass, then grab on either side with pliers and flex the score line until it broke.
That did not work for me.
This time, I watched a video from YouTube and observed they used those handy curved tipped pliers right on the score line to break it. I still managed to screw up once by putting the curve the wrong direction, but if you align the center of the pliers (mine have a little line) with the score such that the top of the curve is pushing up and the edges are pushing down (this assumes the score is on the top of the glass), then it breaks very nicely along the line. The image below shows the results of my first failure as well as a nice clean cut from the success.
The final piece to this puzzle was dismantling the solar garden lights. There really wasn’t much to this. I kept the whole mushroom top and just soldered in about 8 inches of wire on to the LED so that I could thread it through a hole in the post and poke it in to the address box.

