Saphire Pinecones of Pure Love
Being a geek and a Boy Scout leader, when I read about doping a pinecone with various chemicals to make colored flames in your campfire, I knew that I had to try it. As with many projects, it took me quite a while to act on that whim, but if you spend 20 minutes every couple of months on something, eventually it will get done. I’m not doing anything new here, but I wanted to post to provide some of the details that most pages seem to gloss over. The basic idea is simple. Most people know that different chemicals produce colored flames when burned, and by soaking a pinecone or other flammable object in the chemical, you can easily get transport the chemical and get it to burn for a while. I’m not going to try and reproduce the list of chemicals and their colors because they are easily found via a search engine and because I haven’t been able to find the chemicals as easily as they make it sound, and when I have, they haven’t necessarily worked. So I’ll post my successes and let others vouch for theirs.
The one chemical I’ve had good results with is Copper Chloride. Rather than buying it from a pyrotechnics place as is commonly suggested, you can prepare it at home relatively easily by dissolving copper in hydrochloric acid. Assuming you don’t already have hydrochloric acid sitting around, I’ve been able to find it easily at my local hardware stores under the name Muriatic acid. Apparently this is used in pool maintenance. A gallon (way more than you’ll need as we’ll see) costs about $6.
Copper isn’t too hard to find either. Pennies are probably not the right choice here since they’re mainly zinc with a copper plating. The two sources I went for were copper plumbing pipe and the copper wire out of old power cables. The power cables are nice because they are almost always thin strands twisted together which gives lots of surface area for quicker dissolving. On the other hand if you’re not a packrat with old appliances tucked away in a box you may not have any handy.
Before I go any further, if you don’t have a sense of fear in dealing with hydrochloric acid from high school chemistry, you should. We’re not talking Lost Ark flesh melting stuff here, but if you’re stupid enough to stick your nose over the stuff and take a good whiff, you will feel pain and risk chemical burns to your nose, throat, and lungs. So work in well ventilated areas (outside preferably), and think about where you’re leaving your work in progress and left over chemicals.
With those words of warning made, my first attempt was simply to pour about a cup of hydrochloric acid into a mason jar and drop a foot or so of twisted wire liberated from it’s insulation with a utility knife. I put the metal lid back on with some holes punched to release the hydrogen I expected to be given off and set the jar in a secluded corner outside. The bubbles started forming almost immediately, but the reaction ended up taking a really long time to dissolve. After a day or so I had a slight bluish color and after a week it was clearly doing something, but the wire was still there. I ended up leaving for at least a month (partially because I lost interest) during which time the lid dissolved away starting from the holes I had punched and working its way out. However, by time I checked on it again, the wire was gone and I had a nice blue solution. I dropped a pine cone into the jar which soaked it’s fill over night and used maybe a fourth of the solution.
On my next campout, I tossed it in to the fire (with warnings to the scouts about staying out of the smoke), and you can see the results.
 courtesy Michael Meyers
That was enough motivation to keep on with this project, but surely there had to be a better way than waiting a month for wire to dissolve. Remembering very little from my high school chemistry, I consulted the great oracle of the Internet and sure enough, a common and convenient catalyst was listed. Good old hydrogen peroxide. Apparently it takes some serious oxidizing oomph to break apart the Cu2 and hydrogen peroxide provides that. Once the copper is oxidized it is quite happy to switch partners with the HCl forming the CuCl2 that we want and giving of the H2 bubbles and some of it mixing with the left over hydrogen peroxide to produce water. So our equation looks like:
Cu + H2O2 + 2 HCl -> 2H2O + CuCl2 (ignoring the fact that the copper comes in pairs)
With that in mind I tried another run and sure enough, pouring in the peroxide caused my test wires to dissolve in about an hour. The other thing I noticed was that the peroxide seemed to be the limiting reagent. The more I added, the more copper I could dissolve. So with another return to the Internets to remember how to calculate the mass/volume I’d need I came up with the following ratios based on the 32% hydrochloric acid and 3% hydrogen peroxide solutions I had.
| Cu | 63.5463 g/mol | 1 mol | 10g |
| HCl (32%) | 10.17 mol/liter | 2 mol | 31.47 ml |
| H2O2 (3%) | 0.8818 mol/liter | 1 mol | 178 ml |
As you can see, you need about six times the peroxide as you do the HCl which makes sense given the lower concentration. Now for round three, I also decided to try copper pipe as well as copper wire. For the record, 1 inch of 3/4” pipe weighed 10g. There wasn’t such a nice figure for the wire. Also, I used about 10ml more of both the HCL and H2O2 because I wasn’t going to sit there and stir it the whole time.
Ingredients:  HCL+H2O2 solutions, copper pipe, copper wire, and the jug of HCl in the background.
Results: 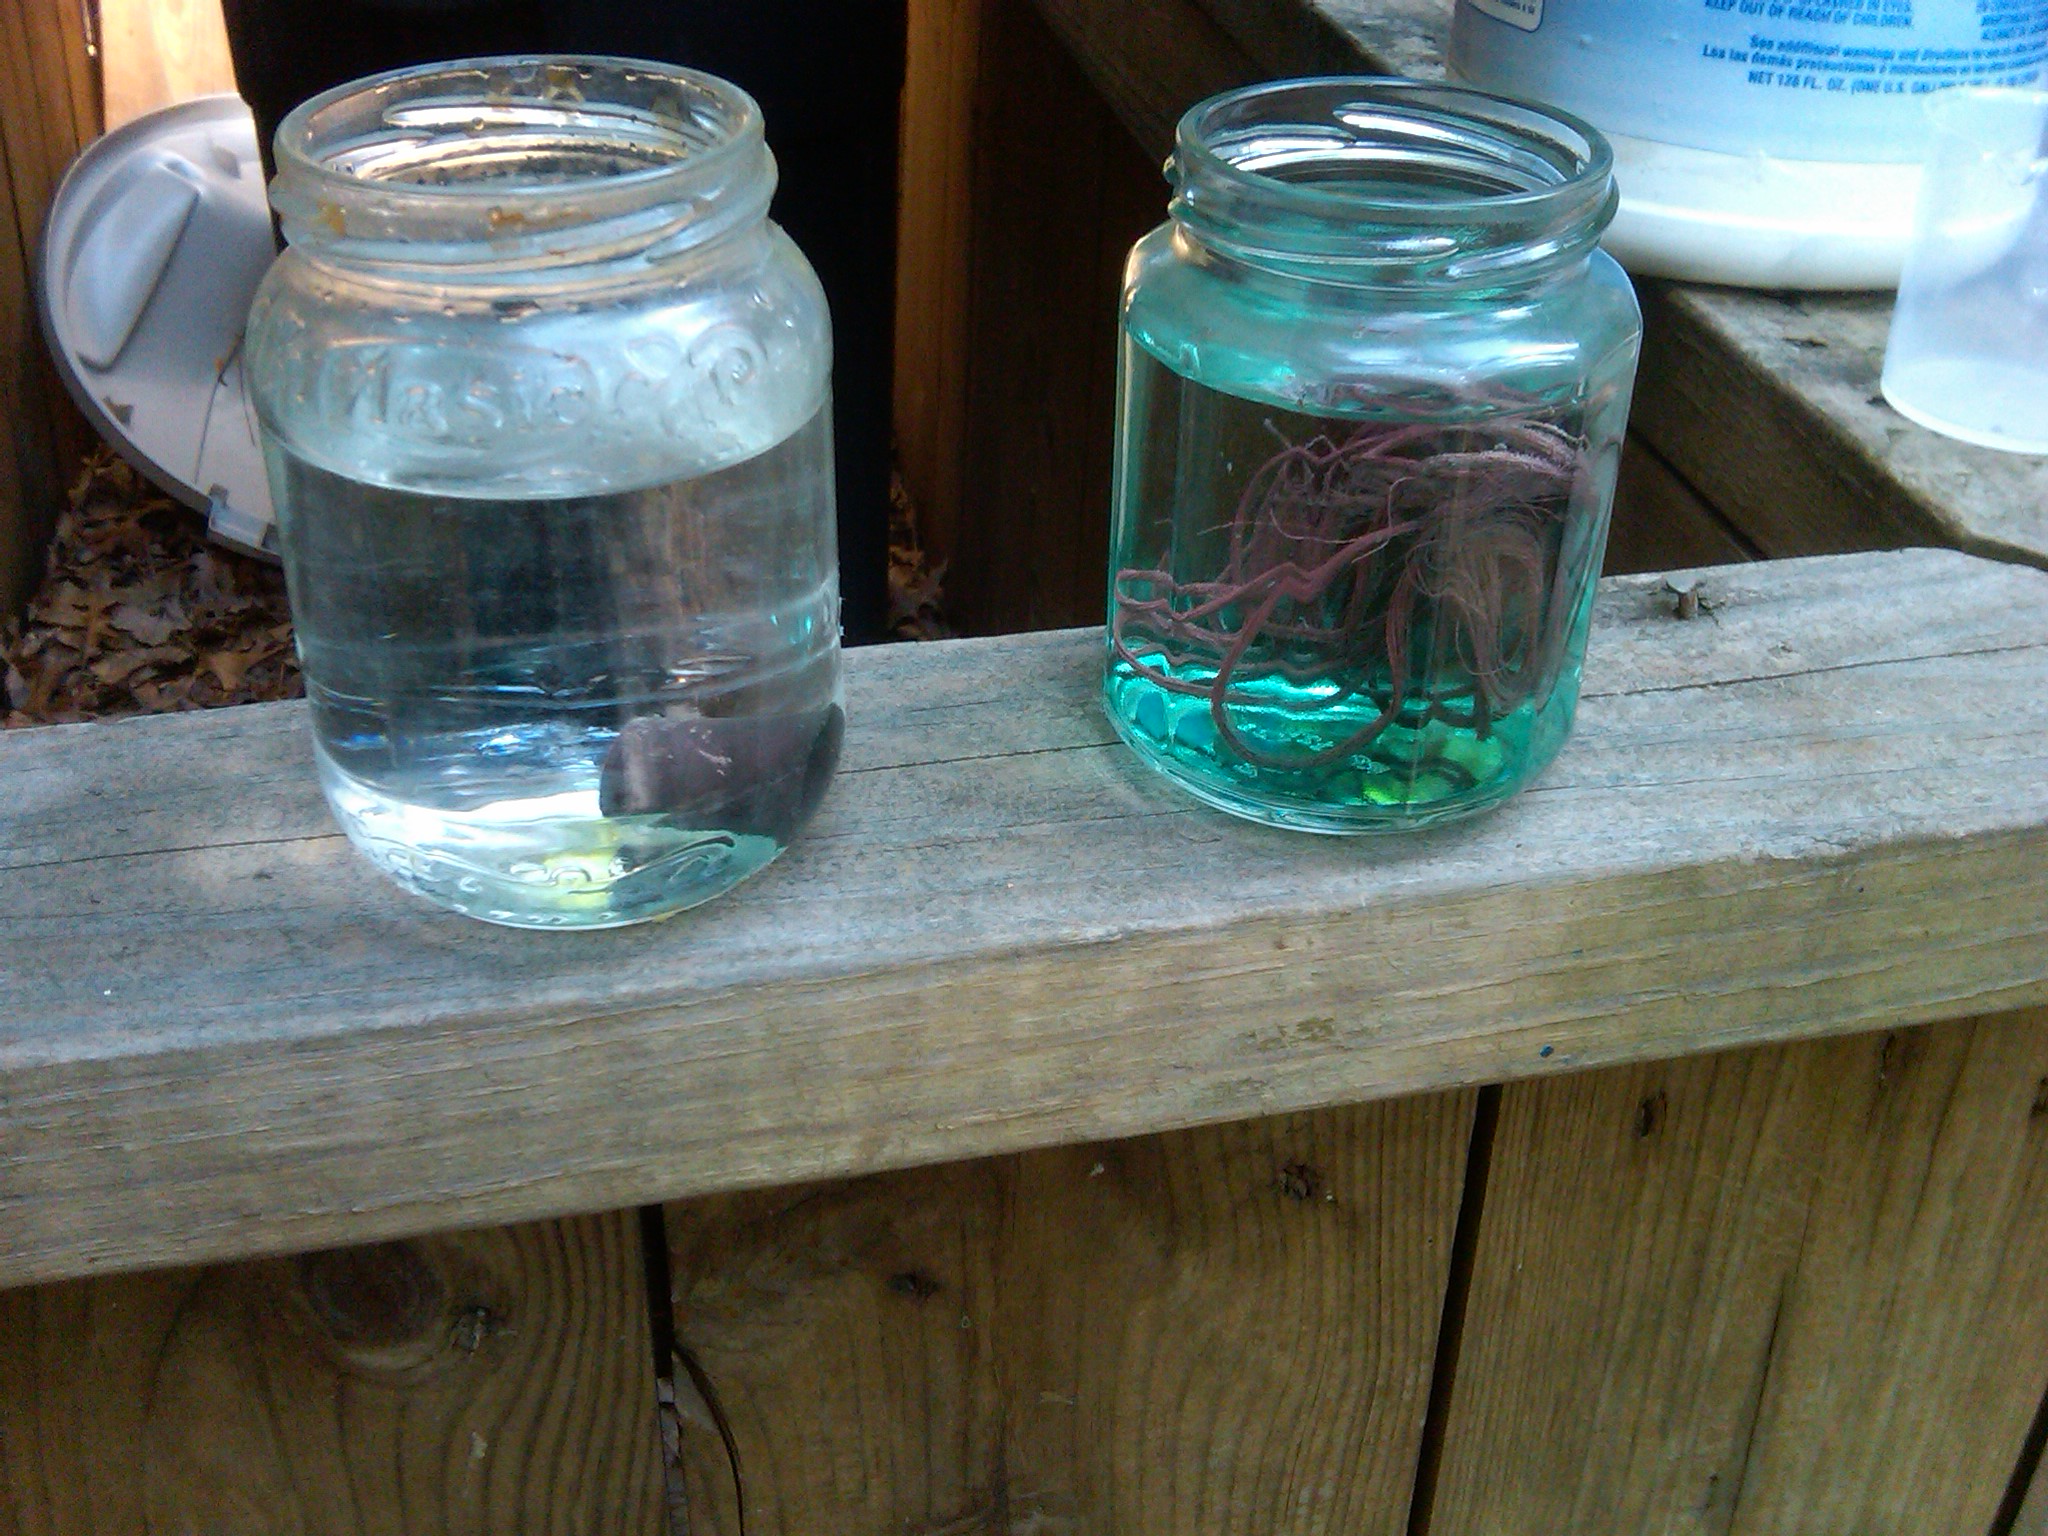 After 45 seconds
 After 30 minutes
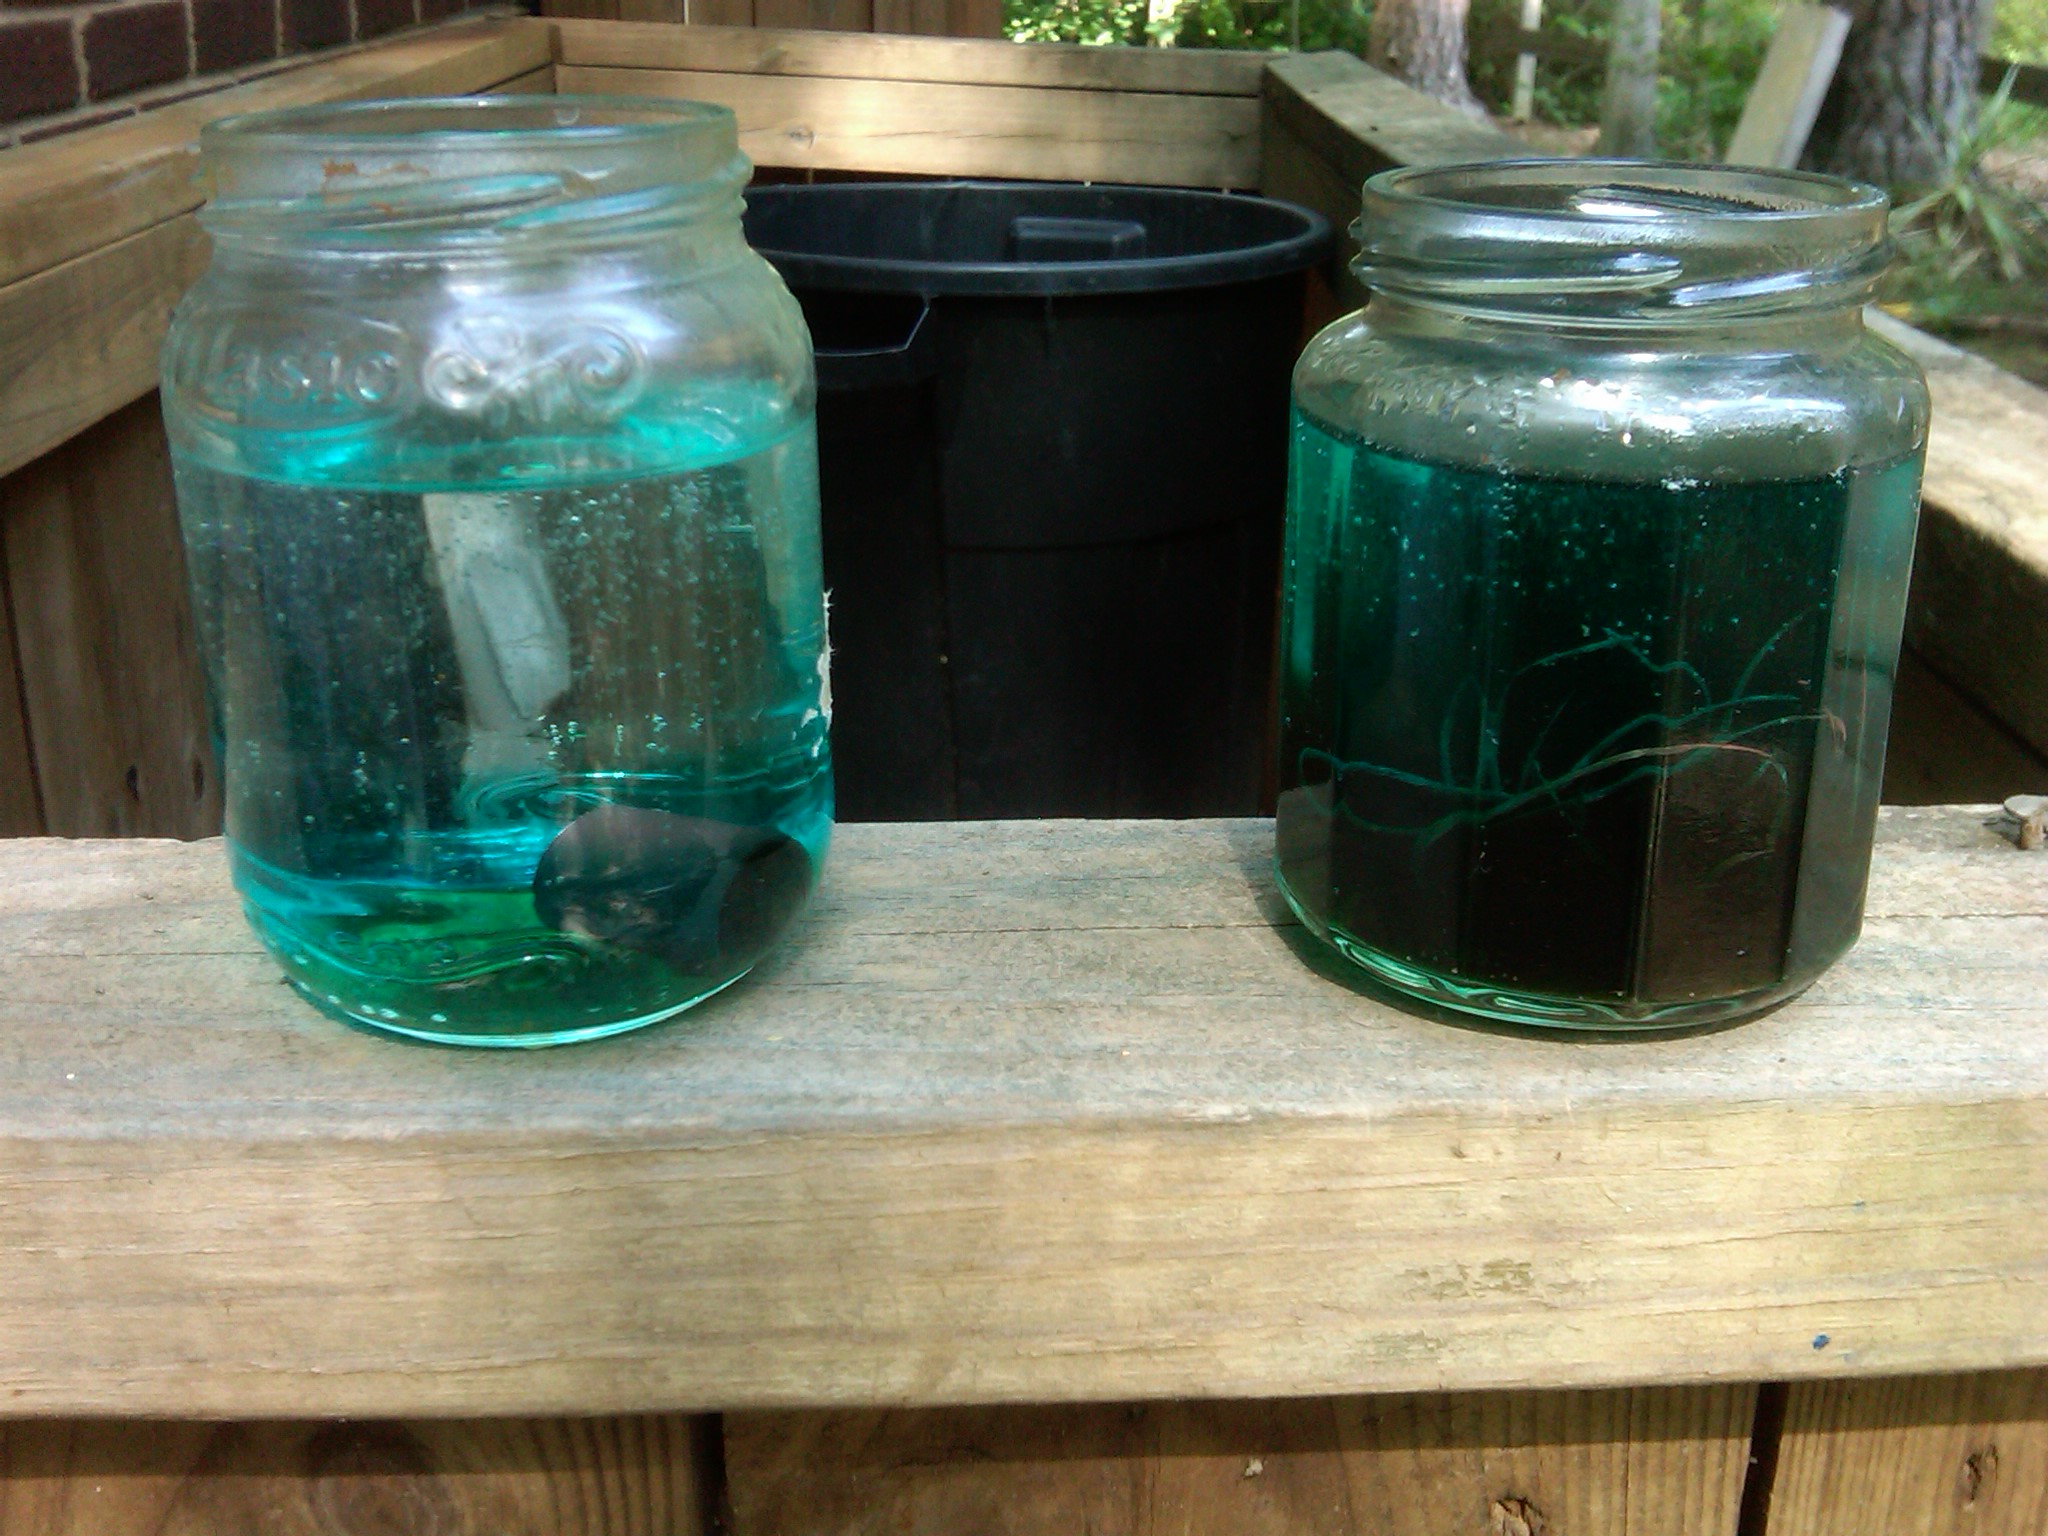
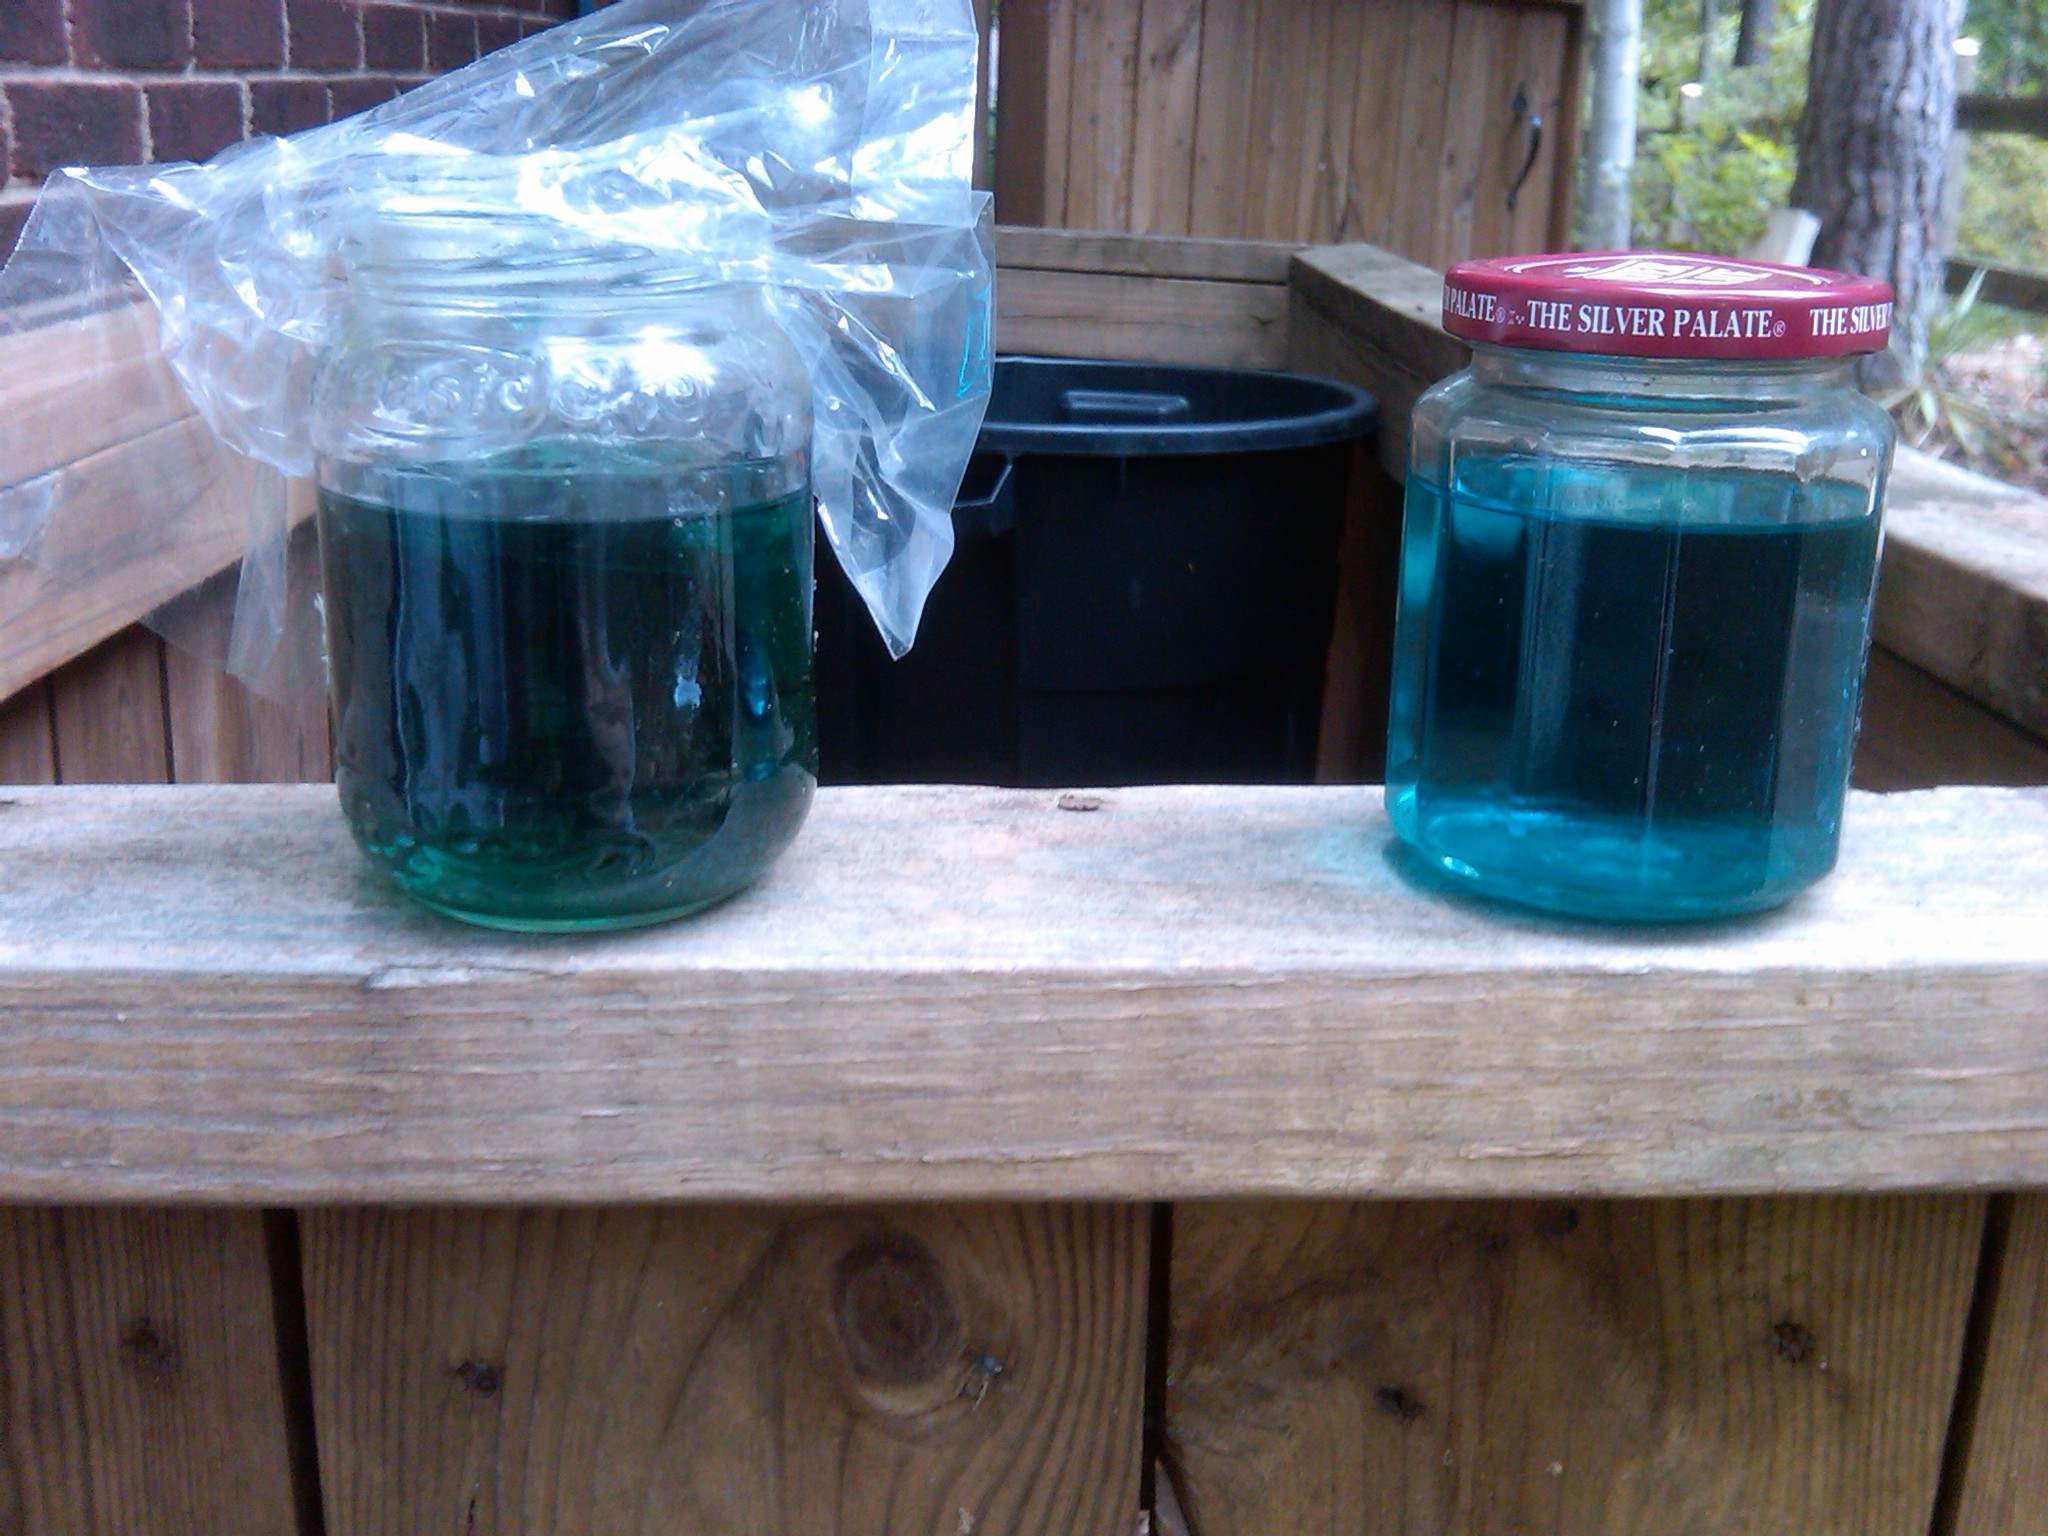
 The first image shows the solution after four hours of sitting. Notice how it has taken on a very dark color (lots of precipitates?). Then after a quick stir, the second image shows that it turned more transparent again.
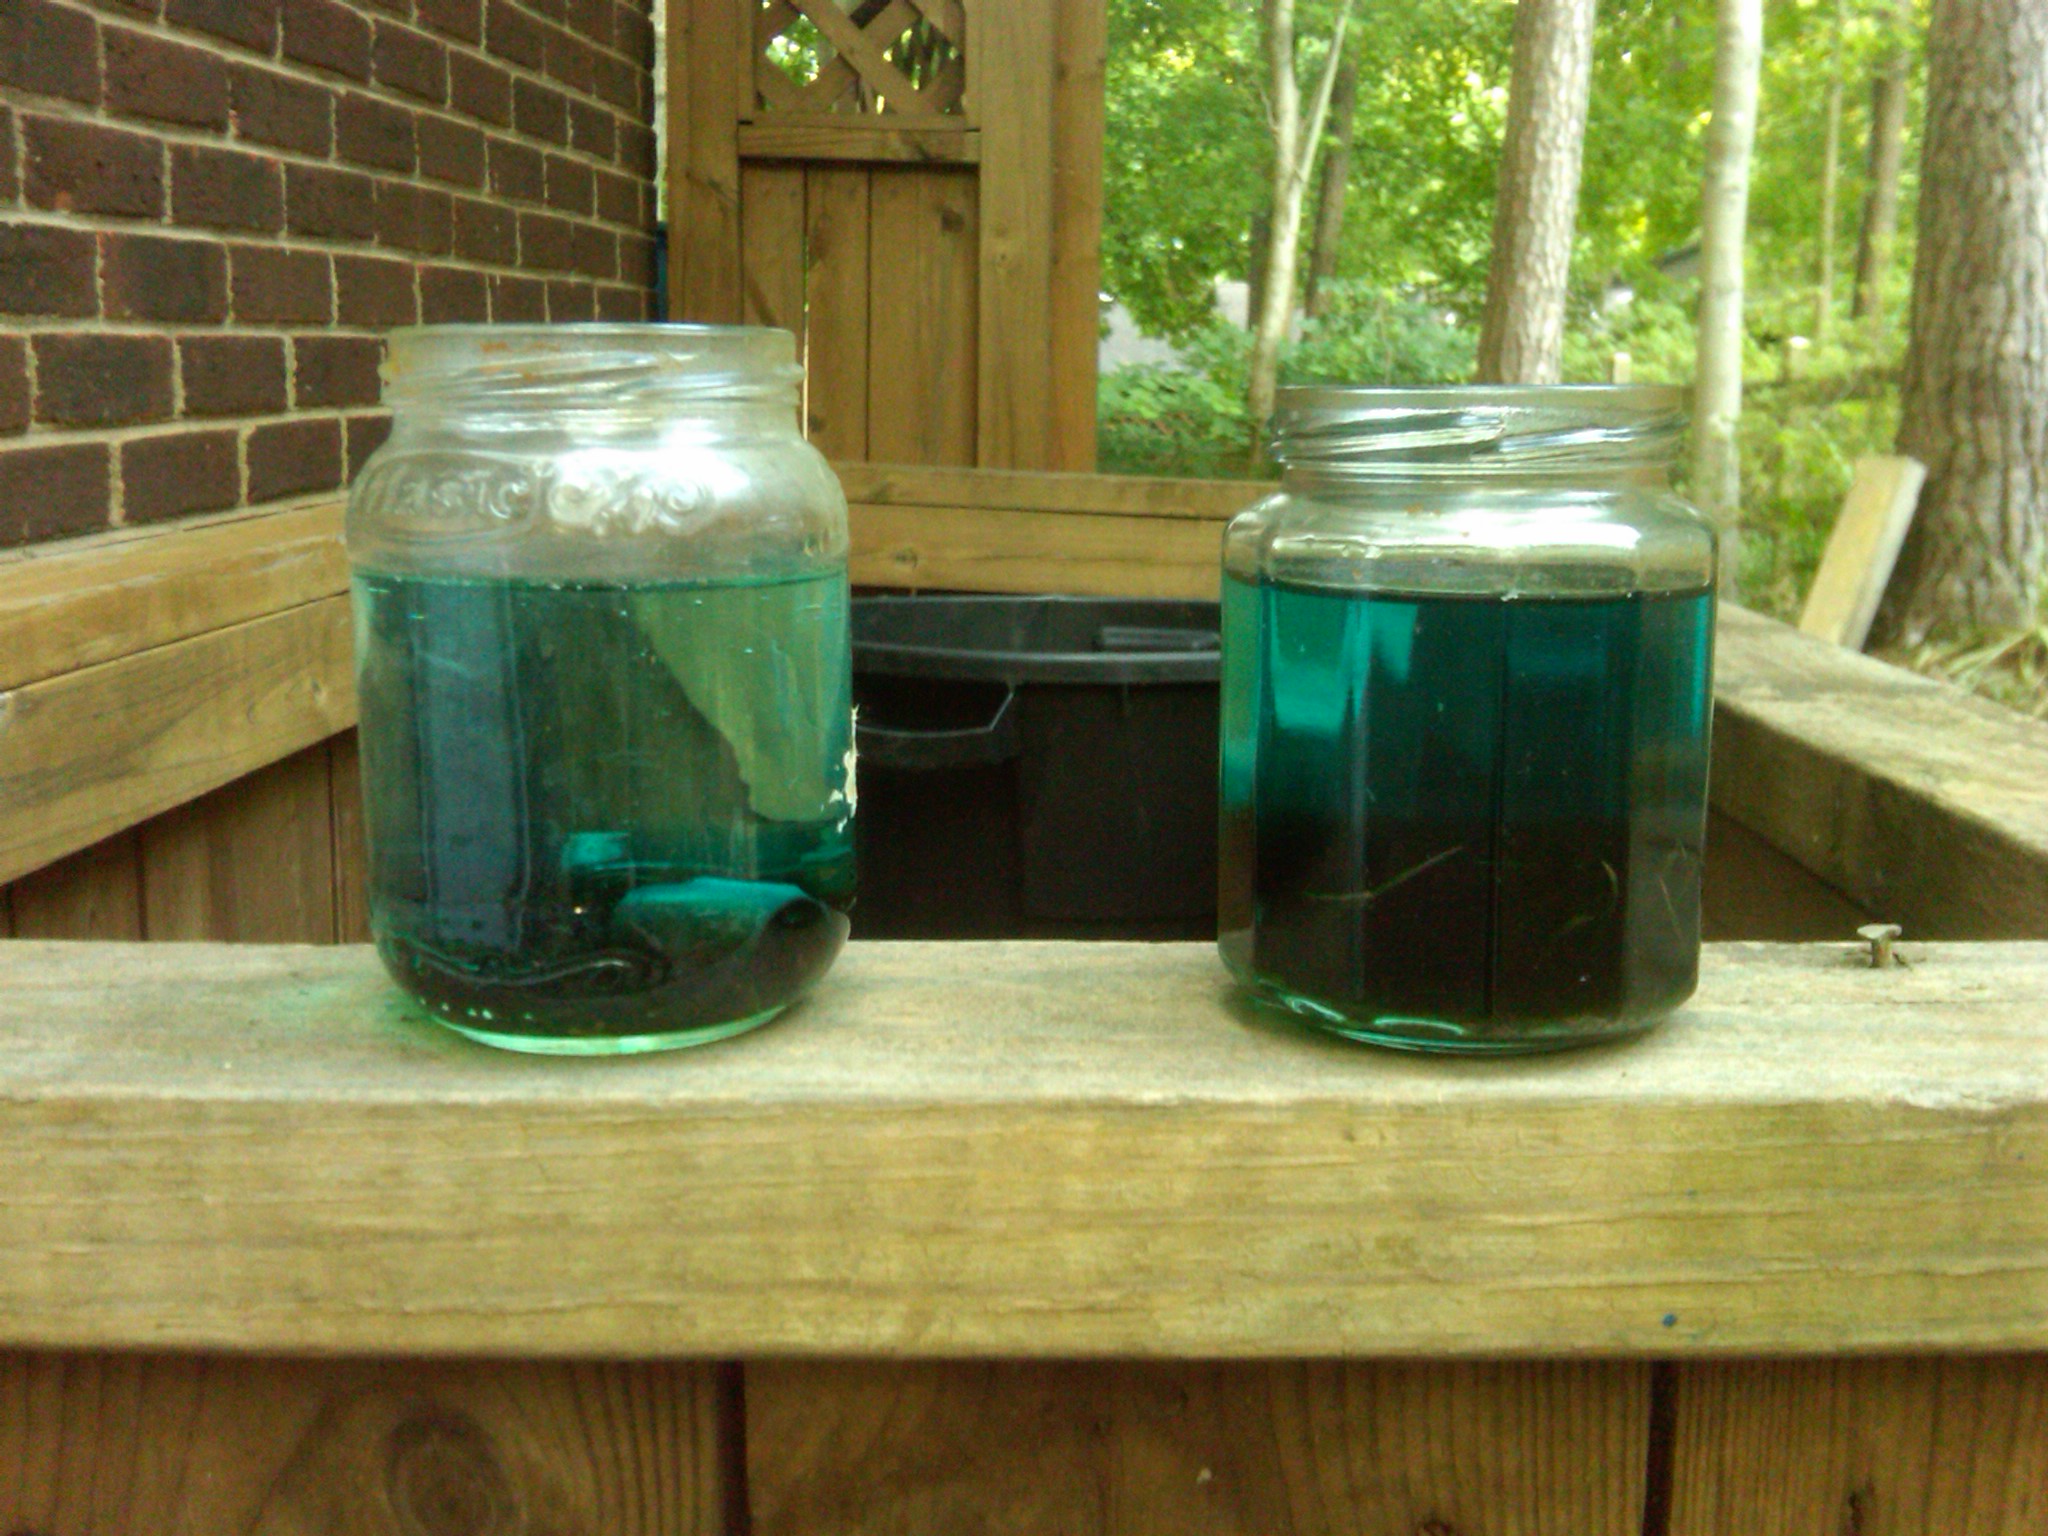
 Overnight Not surprisingly, as the concentration of chemicals goes down, the reaction slows down and even my 10ml cushion wasn’t enough. So even after 24 hours there were still leftover chunks of copper in the solution. I went ahead an added about 30ml of H2O2 to each. Still it took about a week for the copper to fully disolve.
 After a week.
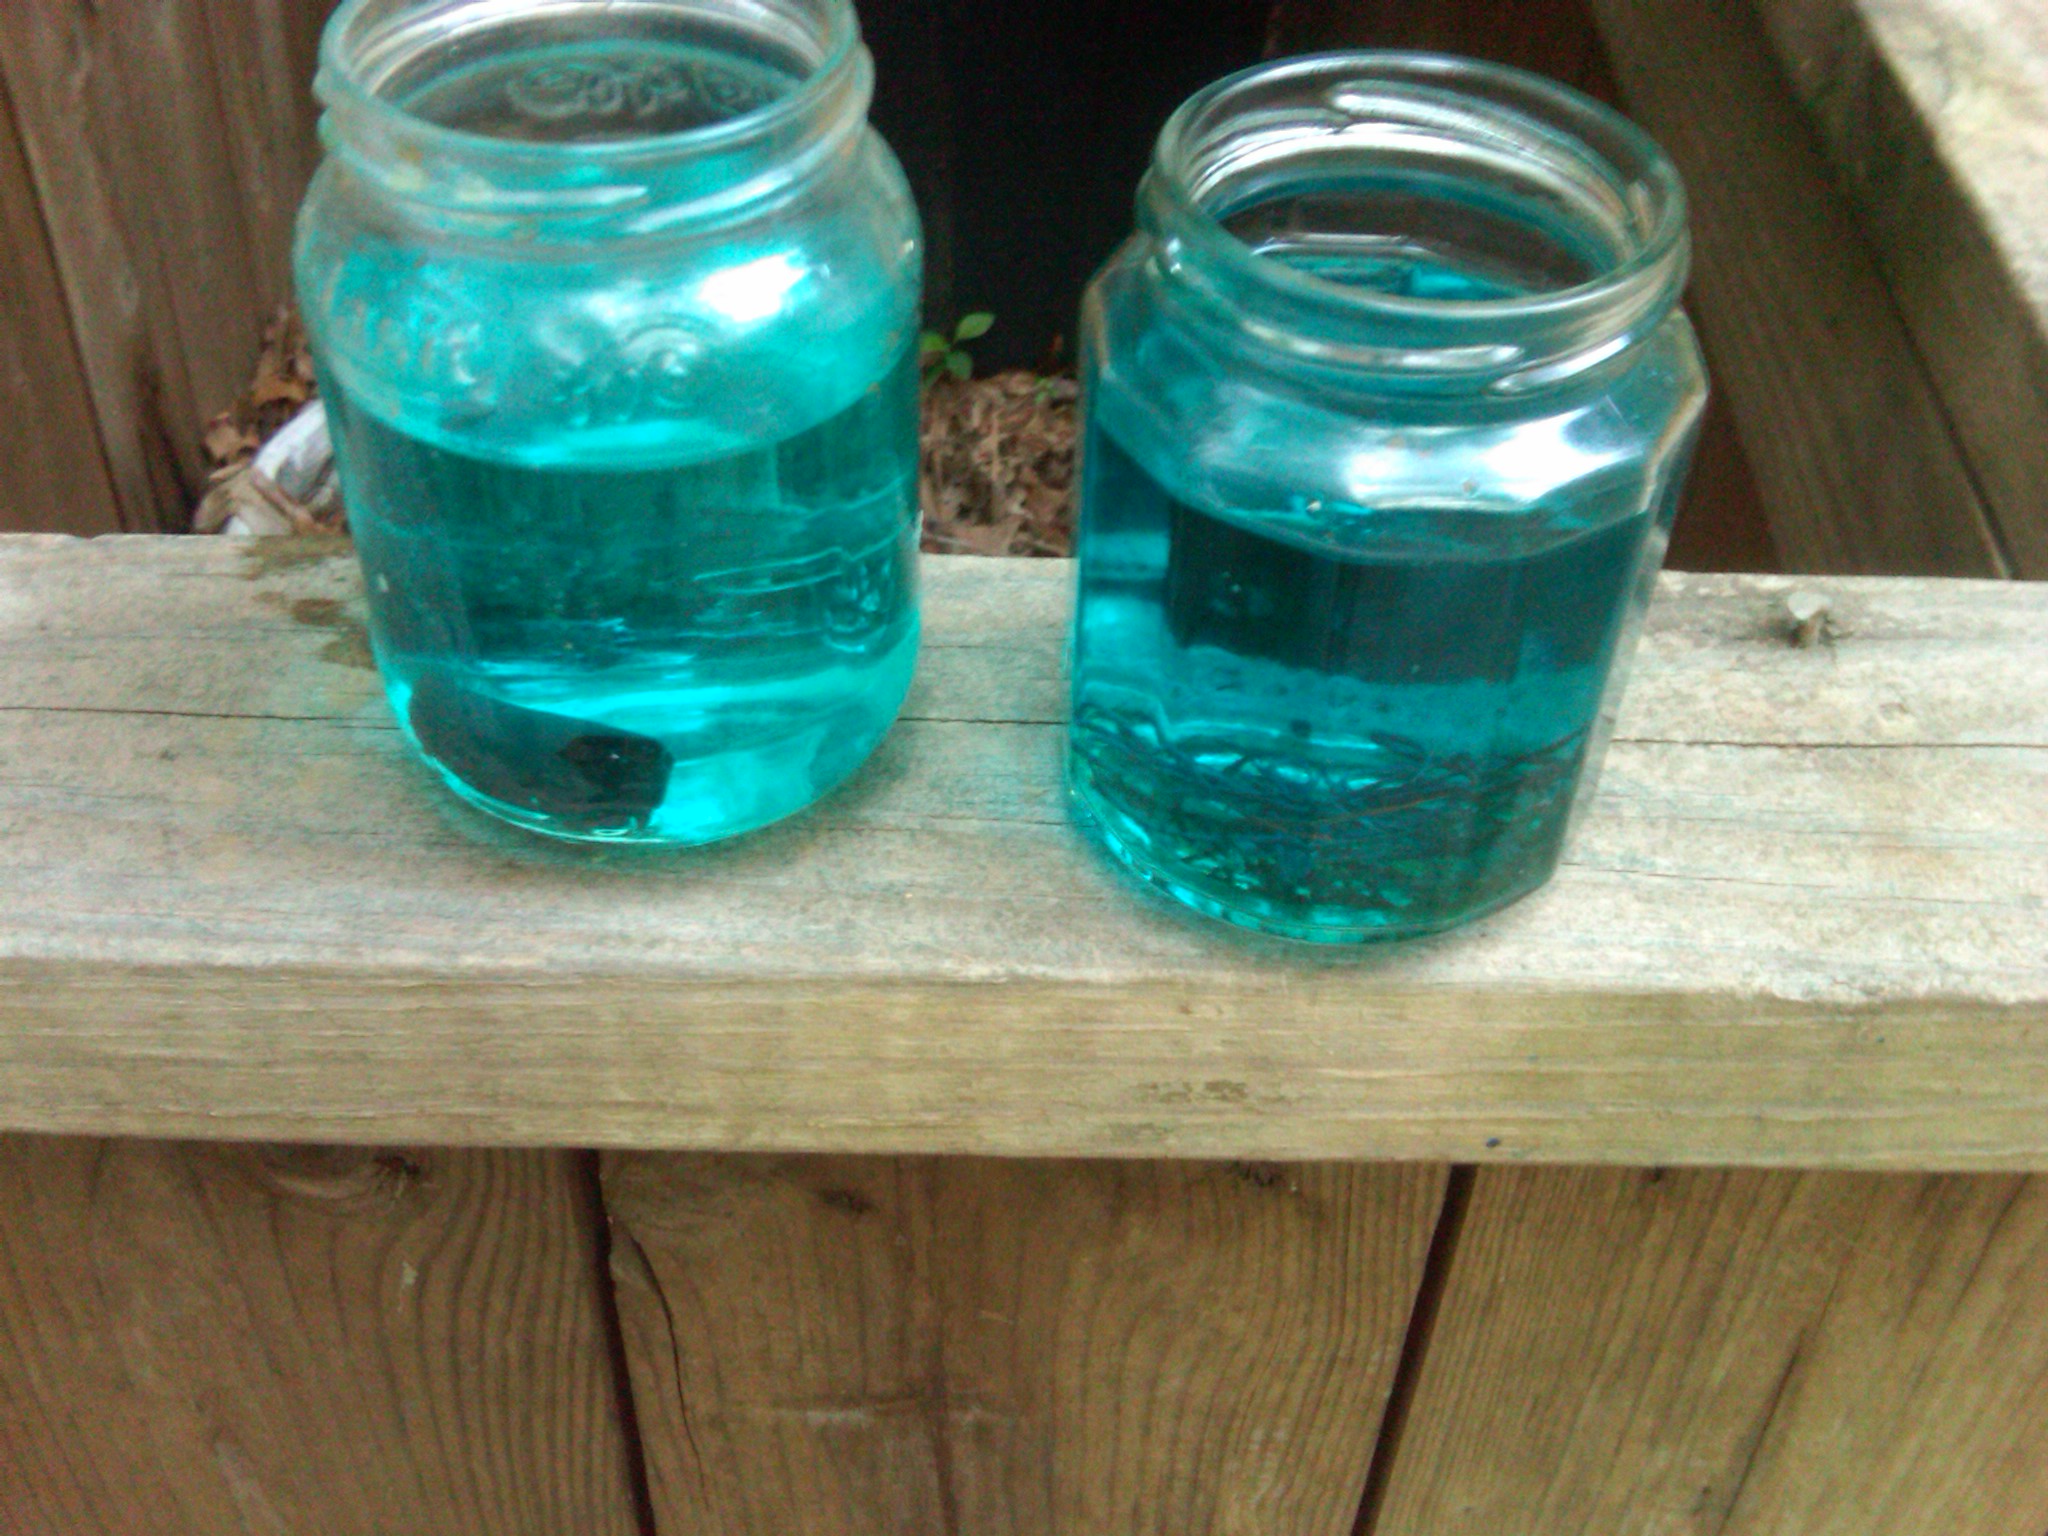
That being said, the solution produced is perfectly usable after a day, and if you go for the copper wire, usable after about an hour. If you want to go ahead and up the concentration of H2O2, I’m pretty sure you can get both the wire and pipe to dissolve as quickly as you want them to.
Another topic that bears comment is the pinecone soaking. A jar like shown in the picture is probably good for 10 pinecones (or more) because it’s not necessary to completely immerse them. Mine worked just fine by laying the pinecone on its side in about a quarter inch of solution and then rolling it after a while (I did overnight but I wasn’t in a hurry). A paint roller tray (made of plastic or with a plastic liner) would probably be a good option here though certainly not the only one.
Finally, just another caution about the chemicals here. Hydrochloric acid is serious stuff and the copper chloride you’re making is REALLY bad for aquatic life forms (http://fscimage.fishersci.com/msds/05720.htm). So don’t stand in the smoke while enjoying the blue flames, and don’t pour your leftover copper chloride down the drain or anywhere near a water source. But with appropriate care, this makes a great way to liven up the camp fire and excite youth (and adults) about chemistry and thinking about alternative uses for everyday objects.
All that’s left now is to enjoy the show.